Choosing the Perfect LED Wall
How to Choose the Perfect LED Wall for Your Event
Planning an event and aiming for a visual spectacle? An LED wall, also known as a video wall or LED screen, might be your best bet. But with so many options available, how do you make the best choice for your event? This guide will walk you through the key factors to consider.
Understanding the Different Types of LED Walls
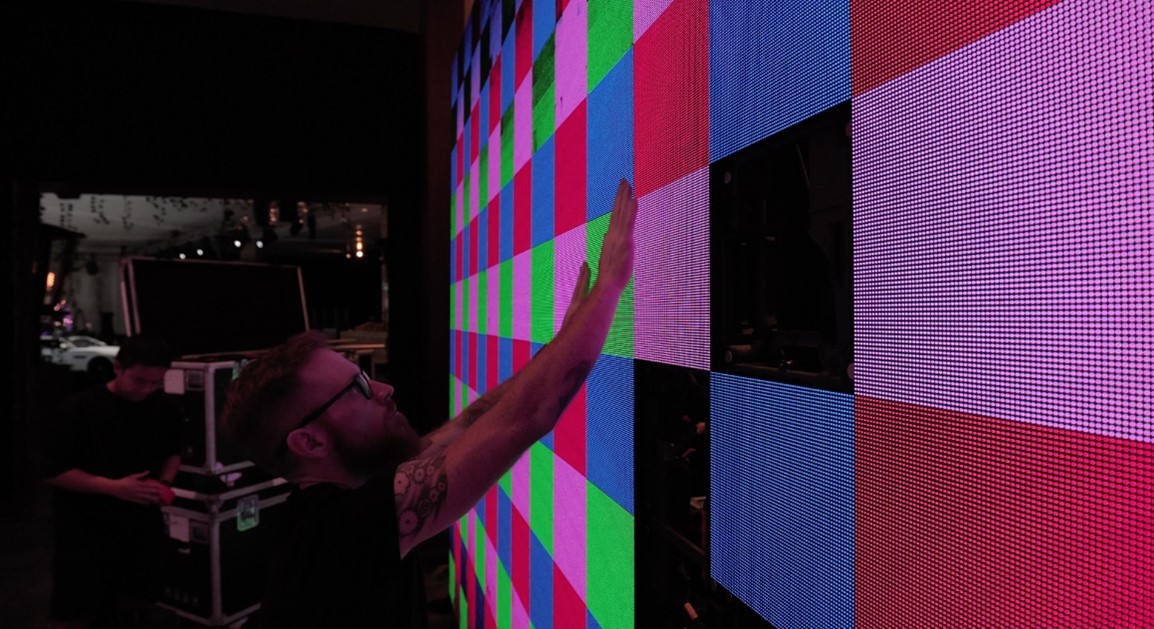
LED walls are made up of multiple LED tiles, also referred to as LED panels, and there are different types available. The first step is to determine whether you need an indoor or outdoor LED wall.
Environment: Indoor vs. Outdoor LED Walls
Indoor LED walls are designed for controlled environments like conference rooms, exhibition halls and indoor music venues. They provide high-resolution displays with vibrant colors, perfect for performances, presentations or events.
Outdoor LED walls (IP65+), however, are built to withstand harsh weather conditions and offer excellent visibility even in bright sunlight. They are often used for outdoor concerts, sporting events, or large-scale advertising. These LED walls are typically larger and have higher brightness levels to ensure clear visibility from a distance.
Pixel Pitch & Brightness
Another important consideration is the pixel pitch, which refers to the distance between each LED pixel on the display. A smaller pixel pitch means higher pixel density and thus resolution, resulting in sharper images and better video quality. Here is a rough breakdown of pixel pitch:
Low pixel pitch: 1 – 3 mm (e.g. INFiLED DB 2.3)
Medium pixel pitch: 3 – 5 mm (e.g. Roe Black Onyx BO3)
High pixel pitch: 5+ mm (e.g. INFiLED Titan X8)
Brightness and viewing distance are also essential factors. Brightness, measured in NITS, determines how well the LED wall can be seen in different lighting conditions. For outdoor events, high brightness is crucial to combat direct sunlight. Viewing distance refers to how far the audience can be from the LED wall without losing clarity. It’s important to choose an LED wall with an appropriate viewing distance based on the venue size and audience. Rule of thumb for viewing distance is 1m of viewing distance for each “mm” of pitch [e.g. – 2.3mm requires 2.3m of viewing distance]. This is the distance needed to get a good “blending” of the LEDs and reduce “pixelation”.

Accounting for Moiré
Will this video wall be recorded, whether professionally or by attendees on their phone? If so, make sure to account for moiré. The moiré effect is a visual distortion on LED screens that occurs when overlapping patterns create unusual stripes on display images or videos.
When accounting for moiré, consider the scan rate of the LED tiles. The scan rate of an LED tile affects moiré by determining how the image is refreshed. A lower scan rate increases the chance of moiré patterns, while a higher scan rate reduces this risk by better aligning with the camera’s capture rate and minimizing distortions.
Curving & Transparency
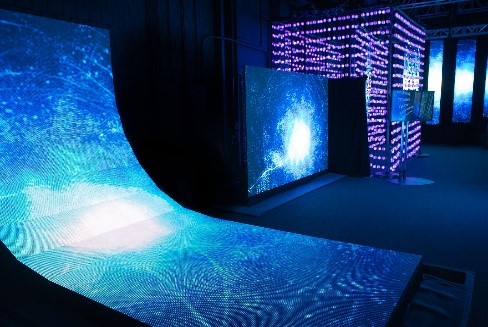
Certain LED tiles and panels offer creative options such as curving and transparency. Curved LED walls not only look remarkable, but can also improve viewing angles, allowing your attendees to have better visibility of the content. Transparent LED panels can provide a big creative moment with performers, products or video content behind them. They can also be used to let more sound through if your audio set up is behind the wall.
Determining the Ideal LED Screen Size
The size of your event and the venue will significantly impact your choice of LED video wall. These factors are crucial in determining the ideal screen size, adapting the LED walls to different event spaces, and considering audience size and viewing angles.
Determining the ideal LED screen size ensures the content is visible and impactful for all attendees. For example, at a large concert where attendees are distanced from the stage, you’ll need a larger LED wall and more panels, but you won’t need such a fine pixel pitch. Whereas if you’re hosting a brand activation where attendees are up close to the content, you will use a smaller wall with a high pixel pitch to ensure high quality graphics.
Considering Audience Size and Viewing Angles
If you expect a large audience, choose an LED video wall with high pixel pitch and brightness to ensure visibility from a distance. Additionally, consider viewing angles to prevent distortion or loss of quality when viewed from different positions in the venue.
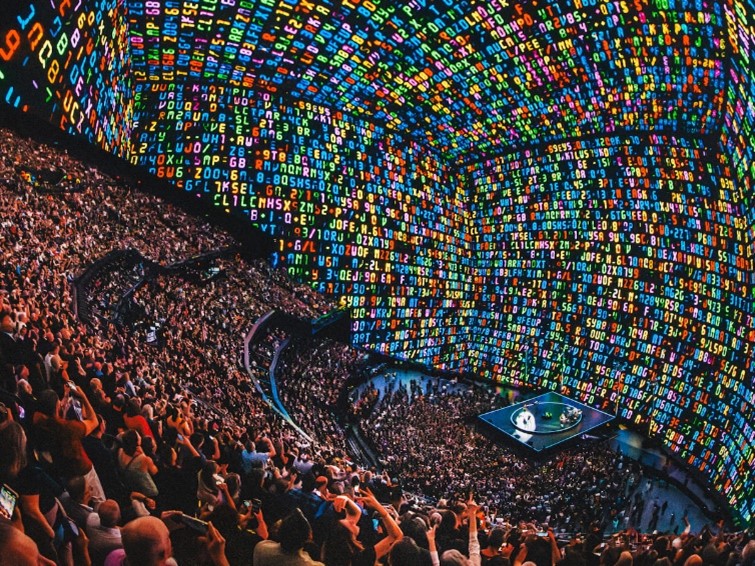
Take the Las Vegas Sphere, for example – the interior LED panels and tiles create stunning visuals that appear high quality to the audience, but did you know that the pixel pitch is as large as 9mm? This works because the audience is at a reasonable distance from the screens. Not so close that they can see the pixelation, but not so far that it’s difficult to see at all.
Adapting to Different Event Spaces
Some venues have unique layouts or architectural features that can affect LED video wall placement and installation. Use this to your advantage and get creative with it by utilizing curved or transparent LED screens, for example. Assessing the event space beforehand and working with professionals to provide customized solutions can go a long way.
Setting Up an LED Wall
Setting up an LED wall can be complex, but with proper knowledge and planning, it can be seamless. Consider transportation and setup, required personnel, and the necessary skill level and experience. Ensure you have the appropriate vehicles and equipment to transport the LED wall to the venue. Allocate enough time for setup, which may involve careful positioning, connecting cables, and testing.
Depending on the size and complexity of the LED wall, you may need a team of skilled personnel, including technicians, electricians and riggers familiar with LED wall installation. Ensure you have a qualified team on board.
Brief Overview of Setting Up an LED Wall
Transportation: Ensure you have the right vehicles and equipment for safe transport. If you’re renting, you typically won’t have to worry about this step, as your rental provider will account for transportation.
Initial Setup: Position the LED wall and set up mounting or rigging connections. Use sandbags or weights where necessary, depending on how large your wall is.
Cables: Connect the necessary cables in a clean and organized manner to streamline the load-out and ensure that issues with individual tiles can easily be addressed.
Final Adjustments: Align the LED panels and test the display for optimal performance.
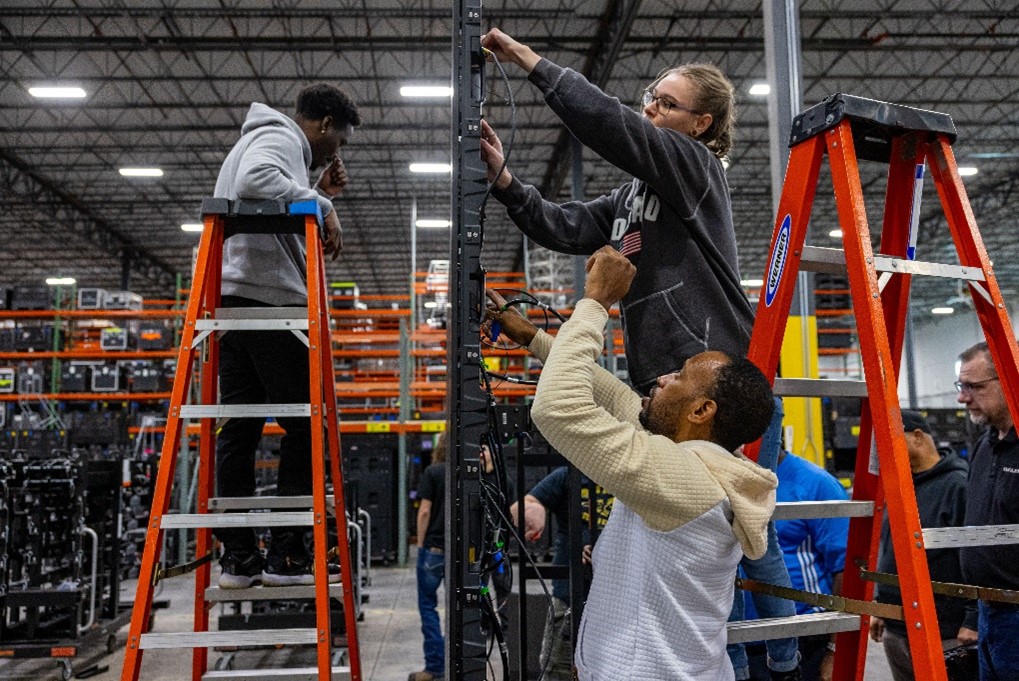
The required skill level and experience depend on the specific product and the scale of your wall. Some LED walls require advanced technical knowledge, while others are more user-friendly. A small 5×5 LED wall may be doable in-house, whereas a large 20×20 wall may require additional support. Assess your team’s skill level and match it with the LED wall requirements. If you need additional support setting up your LED wall, PRG Gear can provide experienced technicians to make certain it’s safely and properly installed.
Final Thoughts & Next Steps
With all this in mind, you’re ready to select an LED panel or tile to build your LED video wall. You have an idea of what your needs are, but how will you know what products meet your requirements without tediously scrolling through spec sheets?
We have just the solution! Our robust selection of LED rentals offers filtering options to help you narrow down the perfect LED tile to meet your requirements. Filter by pixel pitch, environment, scan ratio, dimensions, transparency and more, to find the LED tile that’s right for you.
Browse our curated selection of LED panels and request a quote today. Still unsure or have questions about choosing the right LED tile? Contact us today to get in touch with a technical product manager to discuss your LED wall needs.

